Meta Title: How to Build Floating Shelves Step by Step – Easy DIY Guide
Meta Description: Learn how to make your own floating shelves at home with simple tools. A beginner-friendly DIY project that adds storage and style to any room.
🏡 Introduction
Floating shelves are one of the easiest and most rewarding DIY projects you can try.
They’re stylish, functional, and perfect for any space — from the kitchen to the living room.
Even better? You can build them with a few inexpensive materials and simple tools.
In this step-by-step guide, you’ll learn how to create strong, modern floating shelves that look like they came straight from a designer catalog — all without hiring a carpenter.
🧰 Materials & Tools You’ll Need
| Category | Items |
|---|---|
| Wood & Hardware | 1×8 pine board (or any hardwood), screws, drywall anchors, wood glue |
| Tools | Power drill, saw (hand saw or circular), level, measuring tape, stud finder, sandpaper |
| Finishing | Paint, wood stain, or polyurethane finish |
💡 Pro Tip: Choose wood that matches your interior tone — light oak for Scandinavian, darker walnut for modern industrial looks.
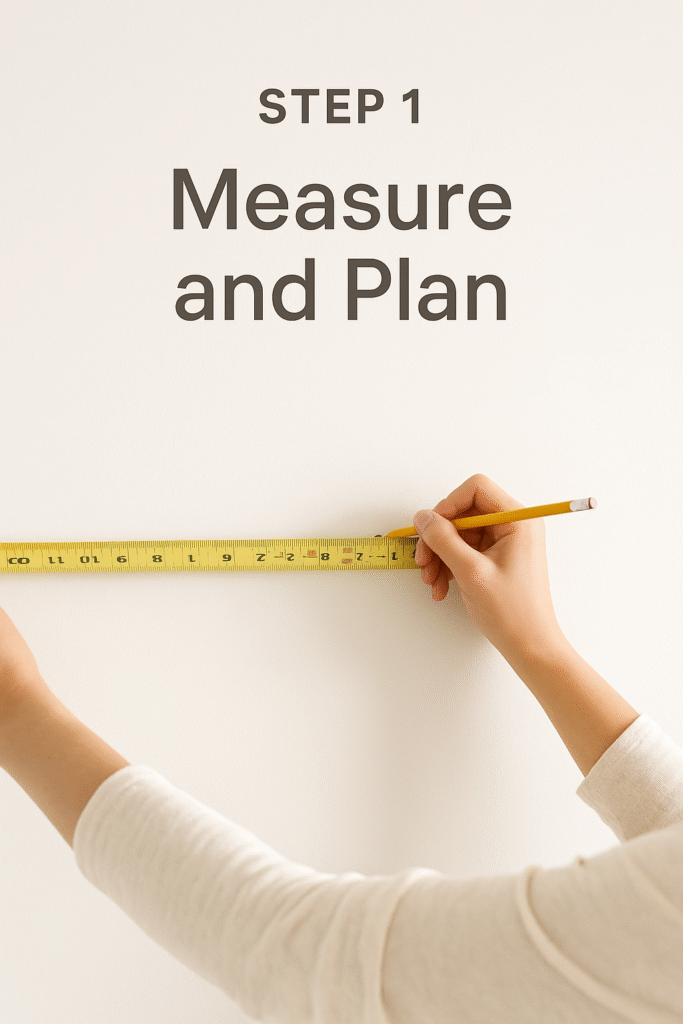
🪵 Step 1: Measure and Plan Your Shelf
Decide where you want your shelves.
- Use a stud finder to locate wall studs (they’ll support the most weight).
- Mark your desired height and width using a pencil and level.
- Plan for 10–12 inches depth for standard shelf size.
📏 Pro Tip: Leave at least 12–18 inches between shelves if stacking multiple levels.
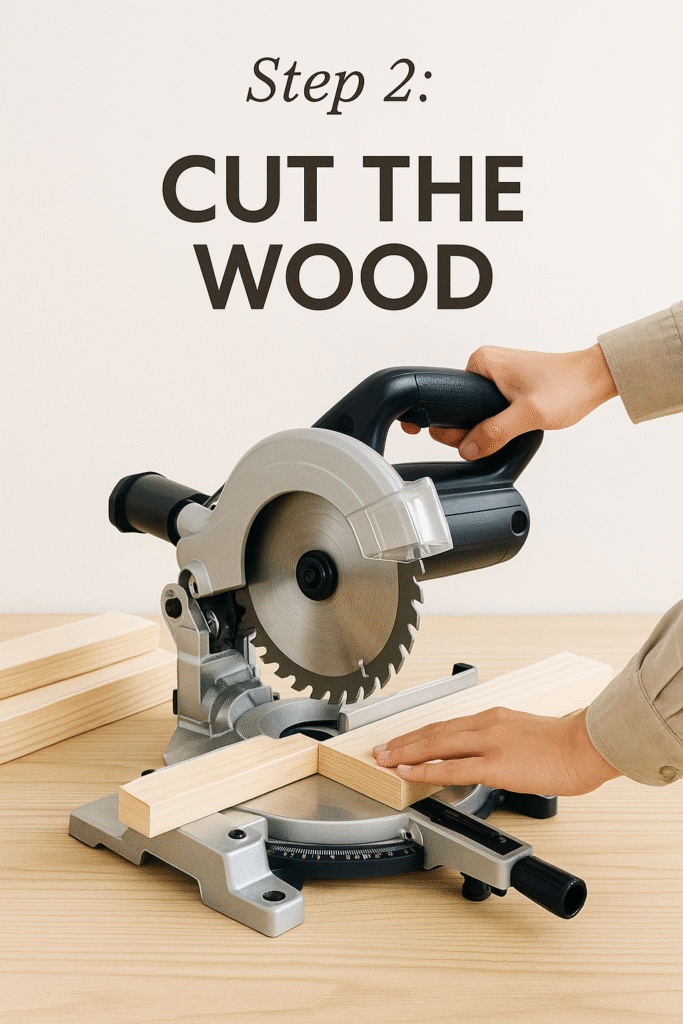
🔩 Step 2: Cut the Wood
Cut your main shelf board to length.
If you’re building multiple shelves, ensure all boards are the same size.
For a floating look, you’ll also need a mounting frame (a thin inner bracket made from smaller wooden strips or a hidden metal bracket).
🪚 Safety first! Always wear goggles and gloves while cutting wood.
🧱 Step 3: Build the Inner Frame (Support Bracket)
This is the key to the “floating” effect.
- Cut 3 pieces of 1×2 wood: one for the back (length of the shelf) and two shorter side supports.
- Screw them together to form a U-shape frame.
- Drill holes along the back piece — this will mount onto the wall studs.
📌 Mounting frame = hidden skeleton that holds your shelf strong and level.
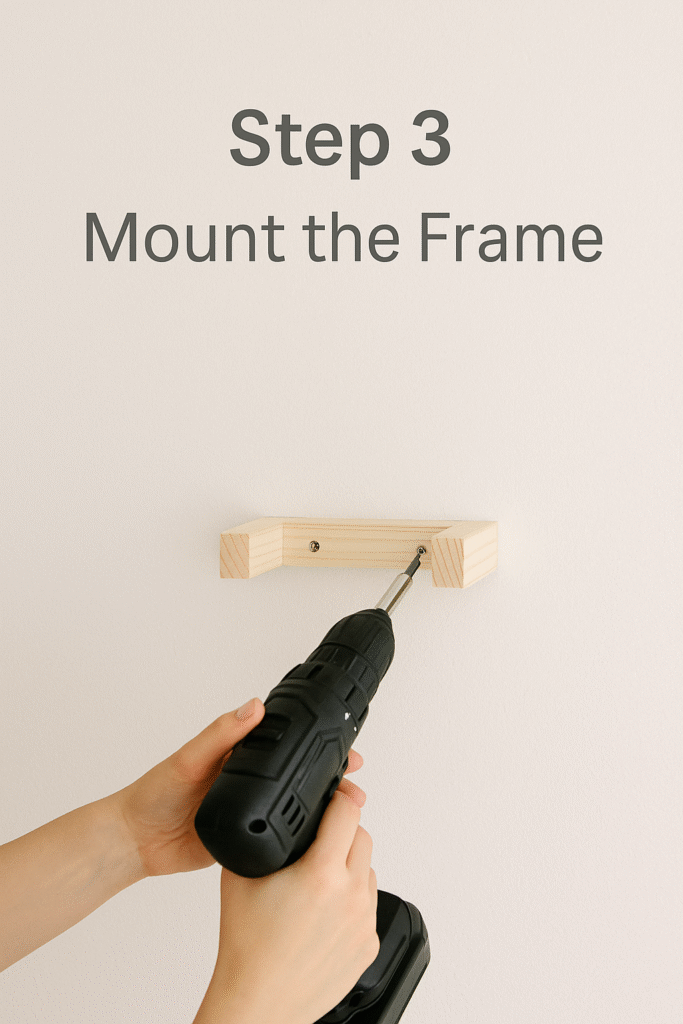
🔧 Step 4: Mount the Frame to the Wall
- Align the frame with the markings you made earlier.
- Drill screws directly into wall studs (or use heavy-duty wall anchors if no studs).
- Use a level to ensure the frame is perfectly straight.
Once secure, tug gently to make sure it’s tight — this is what holds your shelf in place.
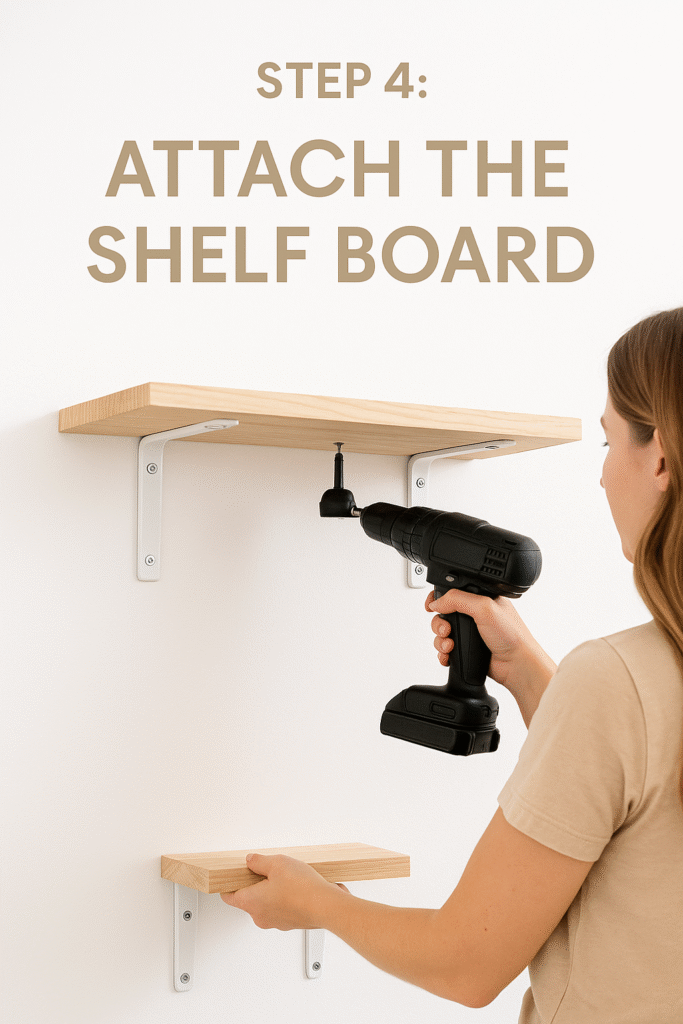
🪄 Step 5: Attach the Shelf Board
- Apply a thin layer of wood glue along the top of the frame.
- Slide your board onto the frame (it should fit snugly).
- Use small screws or finishing nails from the top or bottom to secure it in place.
✨ You now have a sturdy, hidden-mount floating shelf!
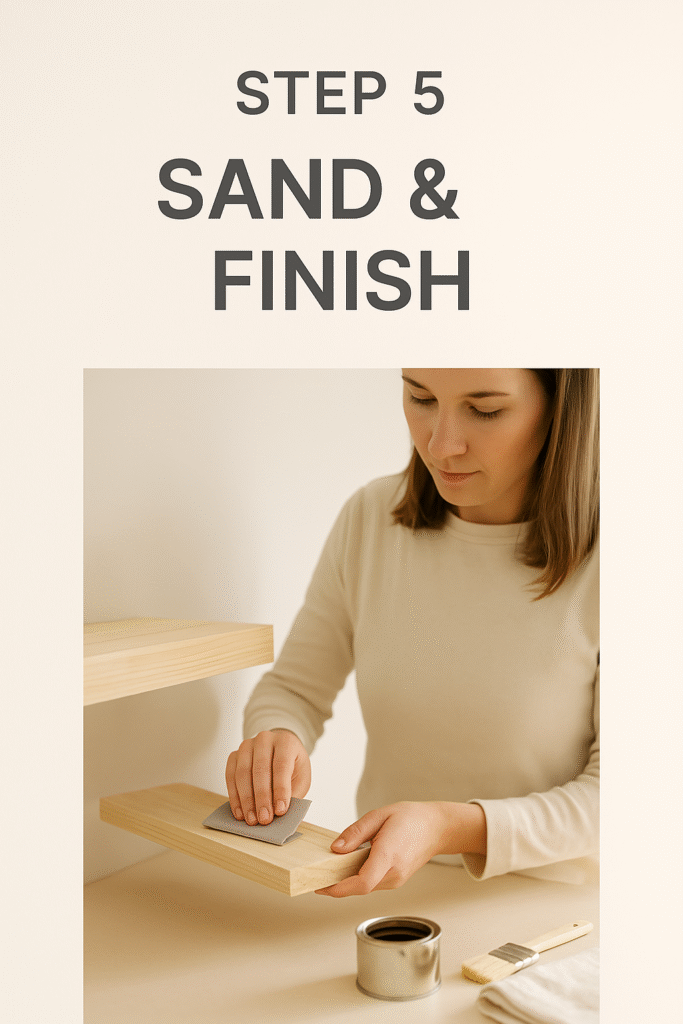
🎨 Step 6: Sand and Finish
Lightly sand the edges for smoothness.
Then apply your favorite finish:
- Stain for a rustic or natural look
- Paint for a modern or minimalist vibe
- Clear polyurethane for durability and shine
💡 Design Tip: Use matching paint for the wall and shelf for a seamless “built-in” look.
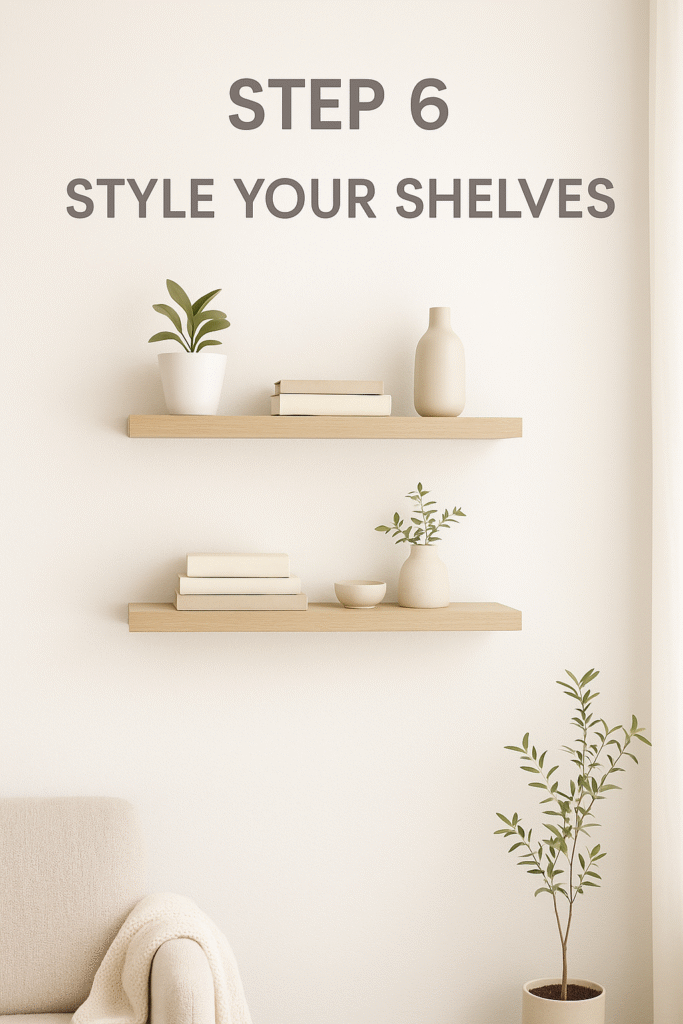
🌿 Step 7: Style Your Shelves
Here comes the fun part!
- Add small plants, candles, books, and photo frames.
- Don’t overcrowd — leave some open space for an airy aesthetic.
- For kitchens, use jars or spice containers; for bathrooms, stack towels or baskets.
📸 This step is Pinterest gold — take photos from different angles and post them with keywords like #DIYHomeDecor and #FloatingShelves.
✅ Final Thoughts
Floating shelves are an easy, beginner-friendly way to add beauty and function to your walls.
They’re budget-friendly, fully customizable, and can transform blank walls into stylish storage.
Whether you install one above your desk or a full set in your living room — your home will instantly feel more organized and elevated.